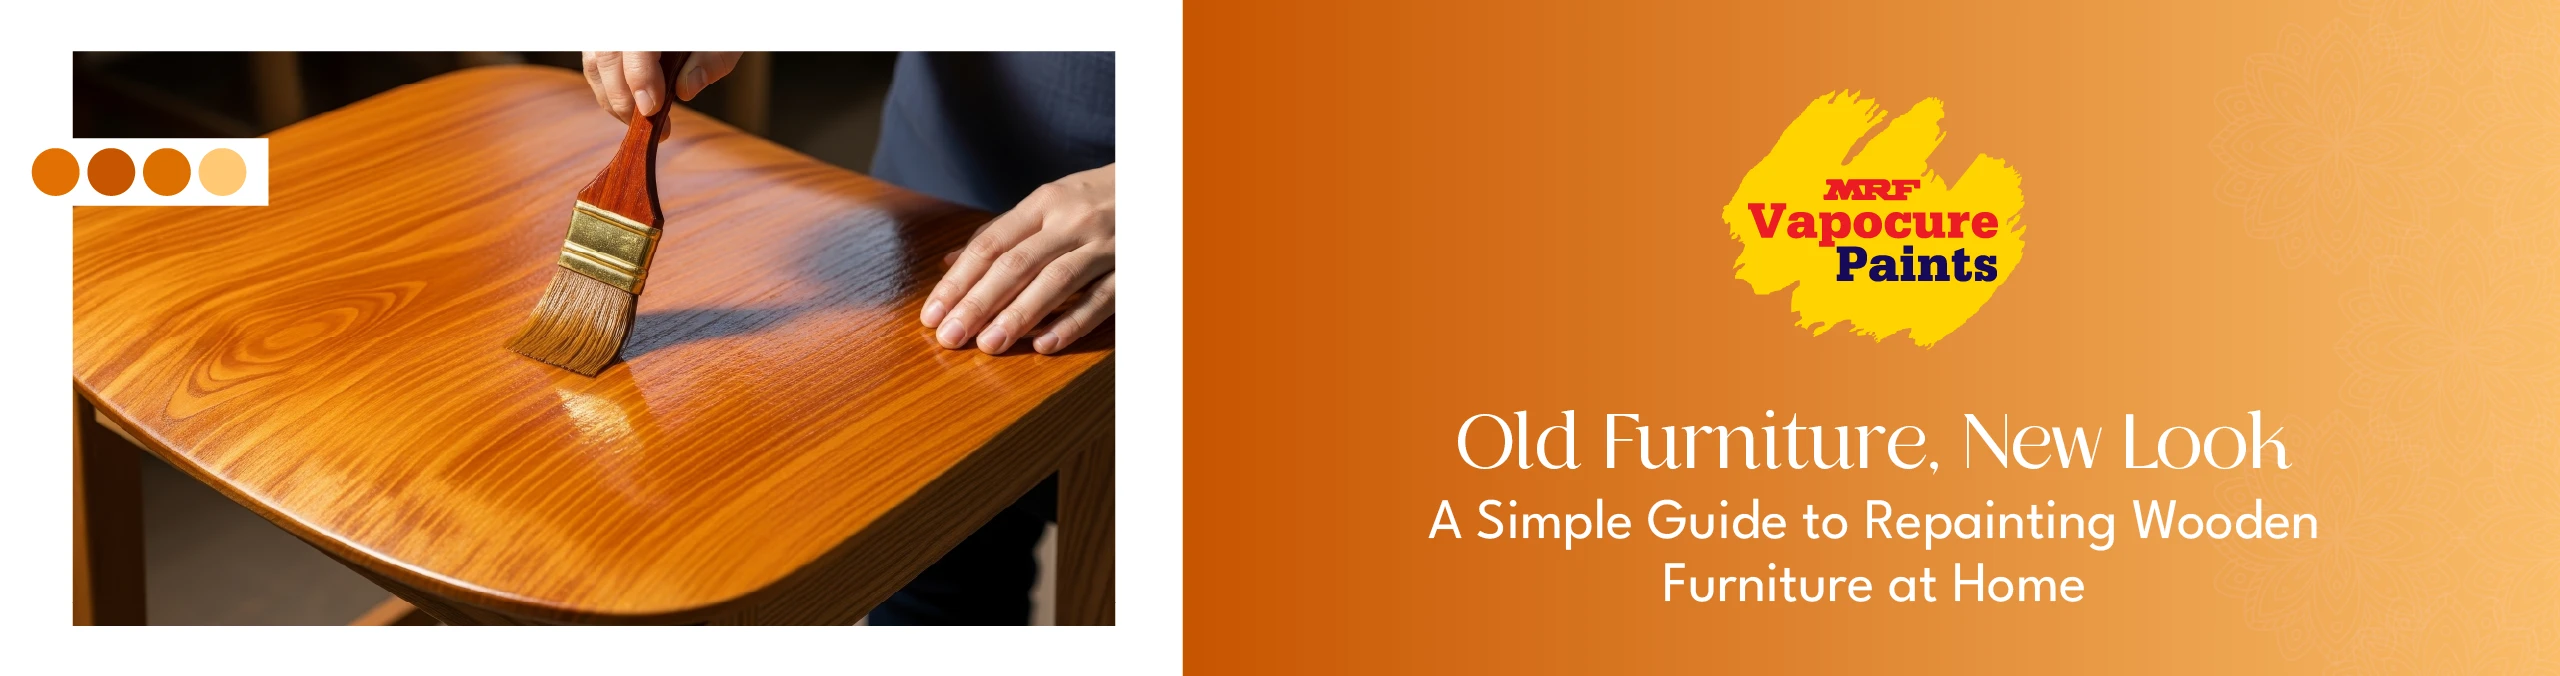
Old Furniture, New Look: A Simple Guide to Repainting Wooden Furniture at Home
Summary
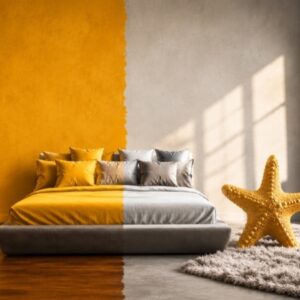
You do not always need new furniture to refresh your home.
Sometimes, the dining table that has hosted countless family meals simply needs a new finish. The bookshelf that has followed you through different homes may only require a fresh coat to look appealing again. Even an old wardrobe can feel entirely different after a careful repaint.
If the furniture is sturdy and still serves its purpose well, repainting can be a practical way to update its appearance without replacing it. Here’s a simple guide to repainting wooden furniture and achieving a finish that complements your home.
Before You Decide to Replace It, Take a Closer Look
It is easy to assume that faded furniture has reached the end of its journey.
Perhaps the polish has worn away. Maybe the colour no longer matches your interiors. Small scratches have become more noticeable over time, and the surface has lost its original charm.
None of these signs necessarily means you need new furniture.
If the structure is still strong, repainting can give it a completely refreshed appearance. It also allows you to update older furniture so it blends naturally with your current décor.
Many pieces only need a little attention before they begin looking presentable again.
How Do You Know It Is Time to Repaint?Your furniture may be ready for a makeover if you notice any of these signs.
Addressing these issues early can help preserve the surface and reduce the need for larger repairs later. |
Give Your Favourite Furniture a Fresh Start
Start with a Clean Surface
If you are wondering how to repaint wooden furniture, preparation is the first step.
Before opening a paint tin, spend a little time cleaning the furniture properly.
Dust, grease, old furniture polish, and everyday dirt can prevent a fresh coating from adhering evenly. Wipe the entire surface using a soft cloth and a mild cleaning solution, then allow it to dry completely.
A clean surface creates a much better foundation for the next stage.
Smooth the Surface Before Painting
Once the furniture is clean, inspect it closely.
You may notice rough patches, loose paint, or uneven areas that have developed through years of regular use. Light sanding helps remove these imperfections while creating a smoother surface for the new coating.
You do not always need to remove every layer of the previous finish. If the existing coating is stable, gentle sanding is usually enough to prepare the surface.
Remember to remove all sanding dust before moving ahead.
Repair Small Marks Before They Become Noticeable
Small dents and scratches can still show through a fresh coat if they are left untreated.
Take a few extra minutes to fill nail holes, shallow cracks, or chipped sections using a suitable wood filler. Once the filler dries, sand the repaired areas lightly so they blend naturally with the surrounding surface.
This simple step can make the finished furniture look much more refined.
Choosing the Right Finish Makes All the Difference
At this stage, you can decide how you want your furniture to look.
Do you enjoy seeing the natural wood grain? Or would you rather give the furniture a completely different colour?
The answer will help you select the right coating.
If You Want to Highlight the Natural Wood Grain
Some furniture pieces already have beautiful wooden textures hidden beneath an ageing finish.
Instead of covering them completely, you can enhance their natural appearance with Wood Coat Italia.
Available in both matte and glossy finishes, it helps bring out the character of the wood while adding a protective layer.
It works well for furniture such as
- Dining tables
- Display cabinets
- Wardrobes
- Bookshelves
The choice between matte and glossy depends on the style you prefer. Matte creates a softer appearance, while glossy reflects more light and offers a richer finish.
If You Want a Completely New Colour
Sometimes a fresh colour is exactly what your furniture needs.
Perhaps your dark cabinet would look better in a lighter shade. Or maybe you want older furniture to complement a recently renovated room.
For projects like these, Durothane is available in 29 exclusive factory shades, along with 1000+ custom shades through Durothane Hues bases, making it suitable for both wood and metal surfaces.
It can be used for
- Coffee tables
- Wooden chairs
- Storage cabinets
- Side tables
- Shelving units
Selecting a colour that complements the rest of your interiors can help older furniture feel naturally connected to the room instead of standing apart.
Apply the Coating with Patience
Once the surface is ready and you have chosen your preferred finish, it is time to begin painting.
Applying one heavy coat may seem like a quicker option, but it often leaves visible brush marks and uneven drying. Instead, apply thin, even coats and allow each layer to dry completely before adding the next.
Giving each coat enough time to settle helps create a smoother finish and improves the overall appearance of the furniture.
If you are working on multiple pieces, complete one at a time rather than rushing through all of them together. A little patience during this stage often produces a much better result.
Small Mistakes Can Affect the Final Finish
Repainting wooden furniture is a straightforward project, but a few common mistakes can make the finish look uneven.
Try to avoid these.
- Painting over dusty or greasy surfaces
- Skipping the sanding process
- Applying thick coats in a single go
- Ignoring the recommended drying time
- Using products that are not intended for wooden furniture
Taking a little extra care during preparation often saves time and effort later.
Keep Your Furniture Looking Good for Longer
Once the repainting is complete, a few simple habits can help maintain the finish. Clean the surface regularly using a soft cloth instead of abrasive scrubbers. Wipe away spills as soon as possible to prevent marks from settling. Avoid dragging heavy objects across painted surfaces, as this can leave scratches over time.
If furniture is placed near large windows or balconies, reducing prolonged exposure to direct sunlight can also help maintain its appearance for longer. Regular care does not take much effort, but it can help your furniture continue looking fresh through everyday use.
You can also explore how seasonal conditions impact wooden surfaces and what steps can help protect them in our guide on protecting wooden furniture from summer heat and damage.
Crafted Wood Coatings for Colour, Character and Lasting Finish
At MRF Vapocure Paints, we offer wood coating solutions designed for different furniture styles and finishing preferences. If you enjoy the natural character of wood, Wood Coat Italia is available in matte and glossy finishes to enhance its appearance. If your project calls for a fresh colour, Durothane offers a choice of 29 shades that are suitable for wood and metal surfaces. Our range is designed to help you achieve attractive finishes that can withstand everyday use.
Summing Up
Furniture often becomes part of your home for years. It supports everyday routines, holds memories, and continues serving its purpose even after the finish begins to fade.
Before deciding to replace it, consider what a fresh coat can do.
With proper preparation, suitable wood coatings, and careful application, you can give older furniture a renewed appearance that blends beautifully with your current interiors. Sometimes, a simple makeover is all it takes to help a familiar piece feel right at home again.
FAQs
1. How do you repaint wooden furniture at home?
Begin by cleaning the surface thoroughly, sanding it lightly, repairing any imperfections, and then applying thin coats using a suitable wood coating.
2. Can you paint over old painted wooden furniture?
Yes. If the existing paint is in good condition, cleaning and light sanding are usually enough before repainting.
3. Do you need to sand wood before painting?
Yes. Sanding creates a smoother surface and helps the new coating adhere better.
4. What is the best way to repaint old wood furniture?
Proper preparation, careful sanding, and applying multiple thin coats generally produce the best results.
5. Which finish is suitable if I want to keep the natural wood grain visible?
Wood Coat Italia helps enhance the natural grain while providing surface protection. It is available in both matte and glossy finishes.
6. Can Durothane be used on wooden furniture?
Yes. Durothane is suitable for both wood and metal surfaces and is available in 29 shades.
7. Is it better to choose a matte or glossy finish?
That depends on the look you prefer. Matte creates a softer appearance, while glossy offers a richer shine.
8. How many coats should I apply when repainting furniture?
Two or three thin coats generally provide a smoother and more even finish than one thick coat.
9. Which wooden furniture can be repainted?
Tables, chairs, wardrobes, bookshelves, TV units, storage cabinets, and study desks can all be repainted if they remain structurally sound.
10. How can I make the new finish last longer?
Regular cleaning, wiping spills quickly, avoiding scratches, and using suitable wood coatings can help maintain the appearance of your furniture for longer.
Wooden Furniture Repainting – Downloadable ChecklistA simple step-by-step guide to refresh old furniture at home Before You Start ☐ Check if the furniture is structurally strong
Surface Preparation ☐ Clean the furniture thoroughly to remove dust and grease
Repair Work ☐ Fill cracks, dents, or nail holes using wood filler
Choosing the Right Finish ☐ Decide between natural wood finish or colour finish
Painting Process ☐ Stir paint properly before application
Final Finishing ☐ Inspect for uneven texture or missed spots
Aftercare & Maintenance ☐ Clean using a soft cloth only
Bonus Tip ☐ Recheck furniture condition every few months to maintain finish longevity |